
Manual of manuals
1 - Publication of 2022 manuals
Access Taiga to assign the manual or create it --> http://cl2017020208001.dnssw.net/project/jcordero-revisio-murs-atclient/kanban
We will look for the section of the manual we are working on. For example, if the manual we are going to create is for the database, we will access the database section and create the manual within it.
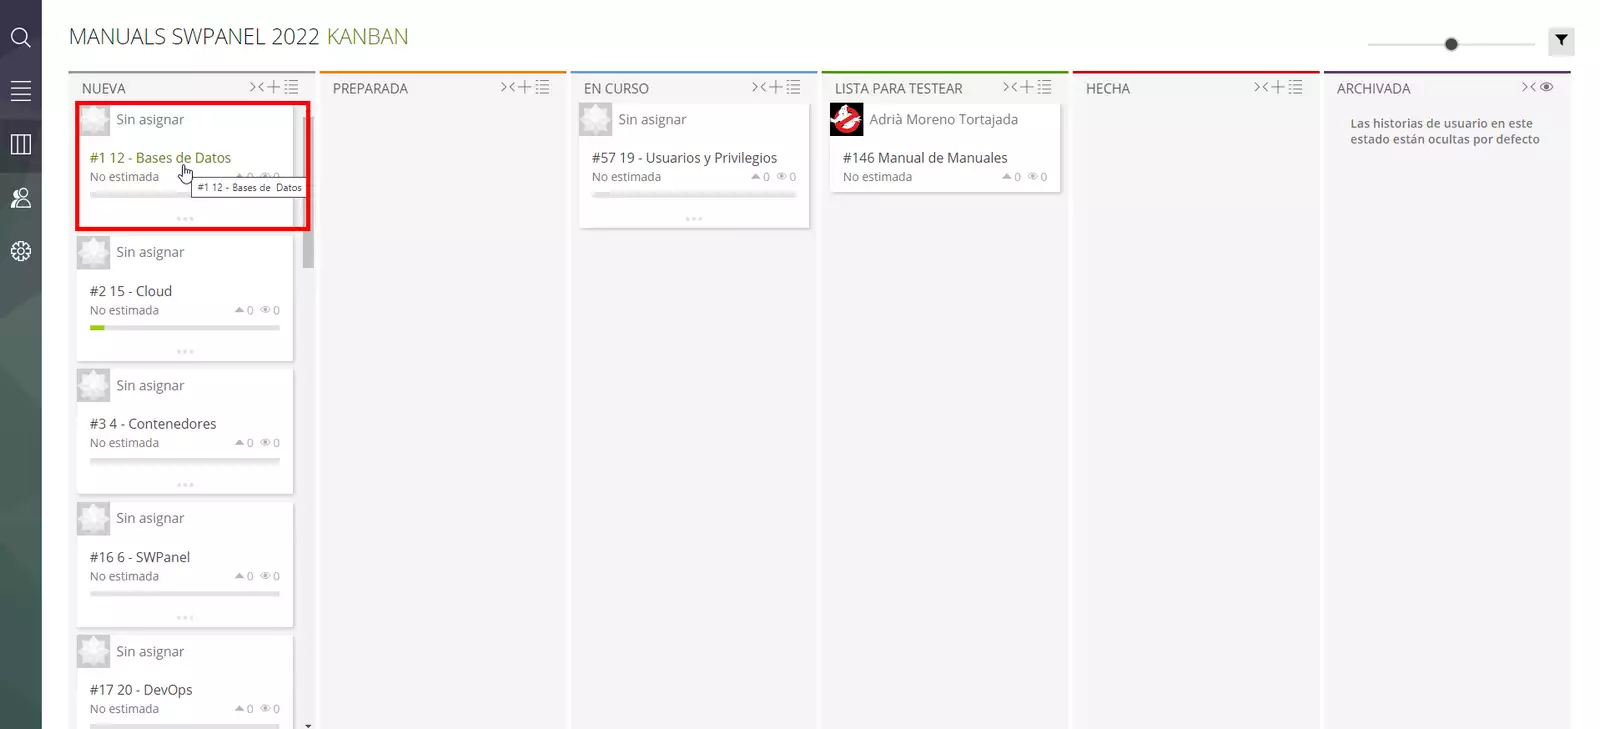
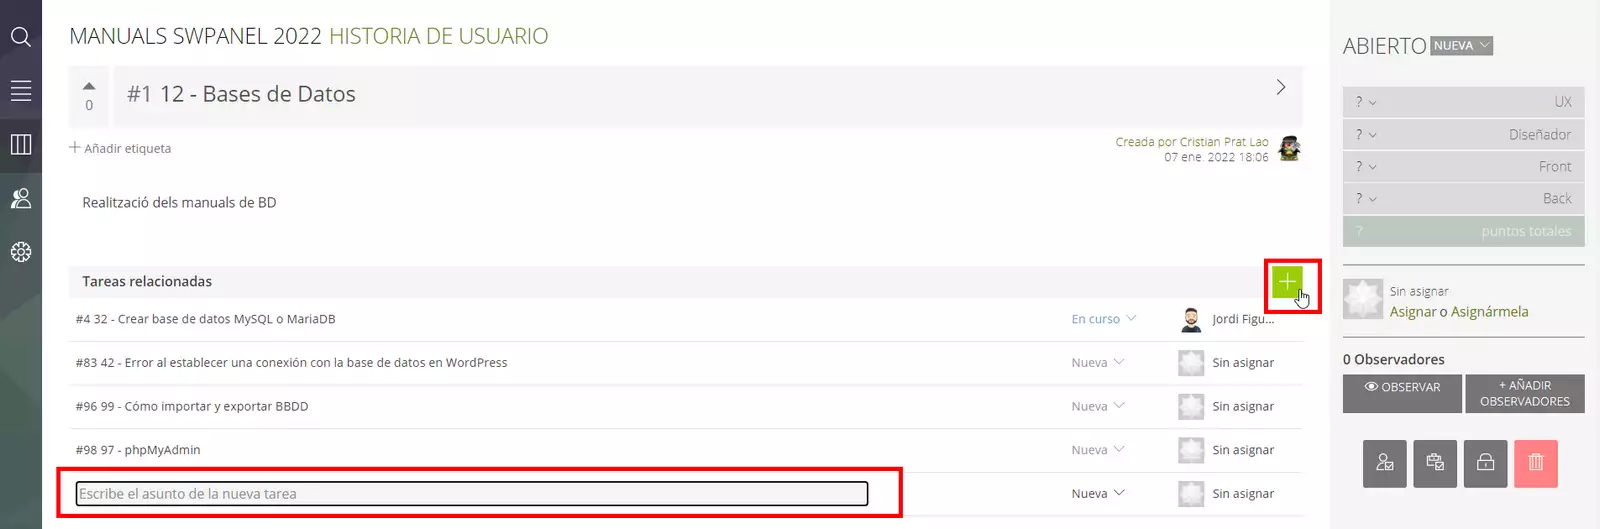 If the manual has already been created, it only needs to be assigned and its status set to in progress.
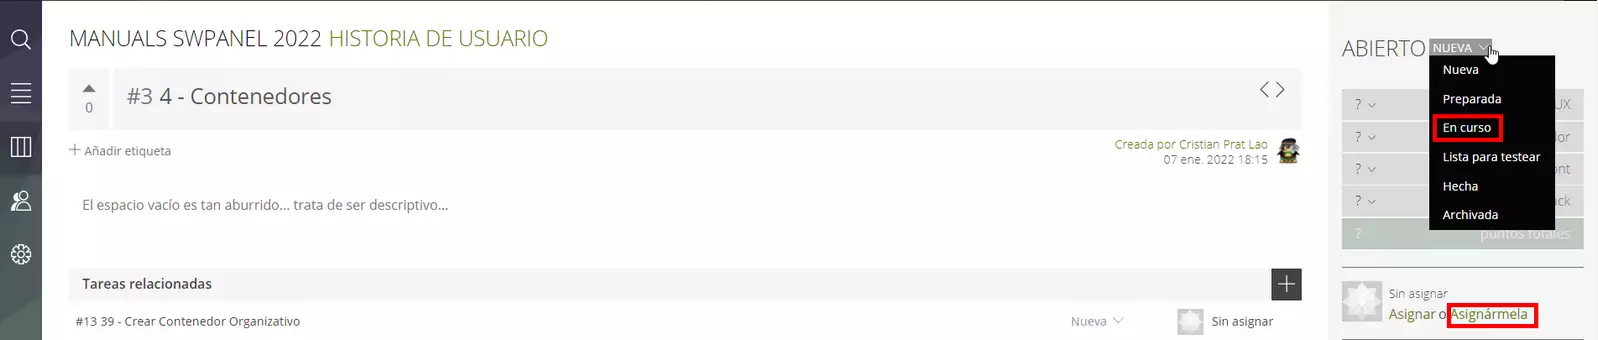
💡 If a trac must be opened during the manual and its resolution awaited, it will be set to "Needs info" status.
Access FG DEV --> https://fg_dev.swpanel.com/
-
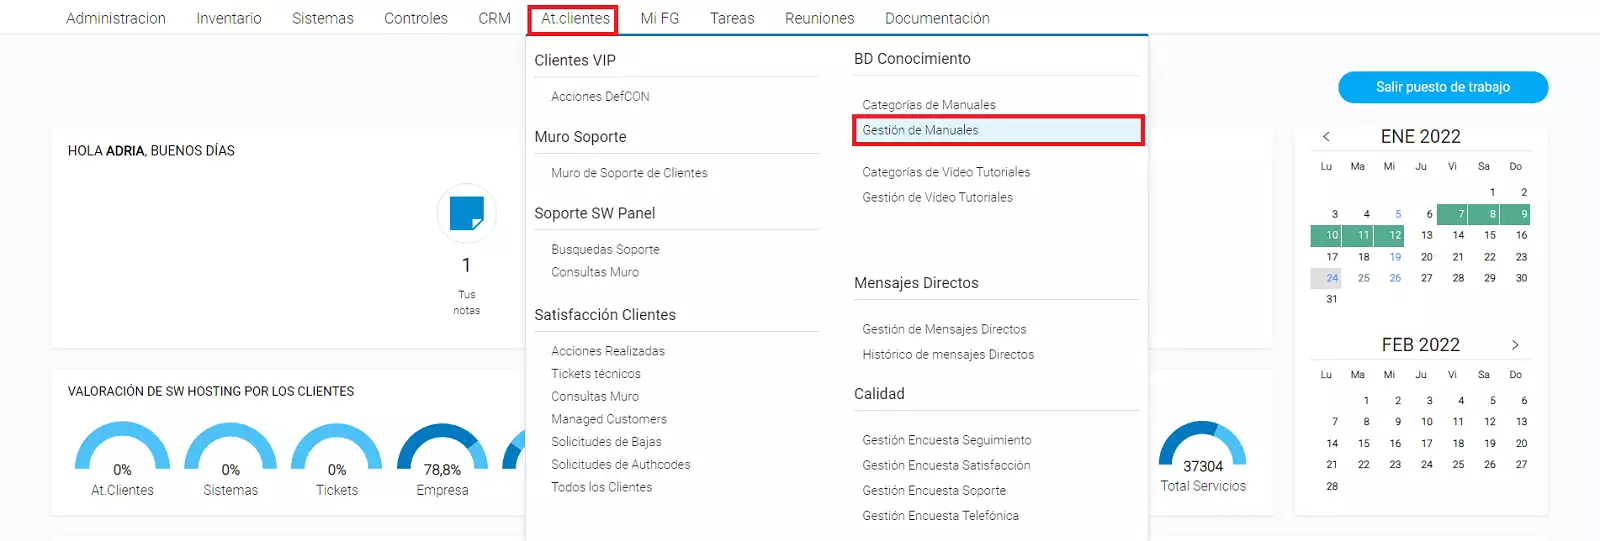
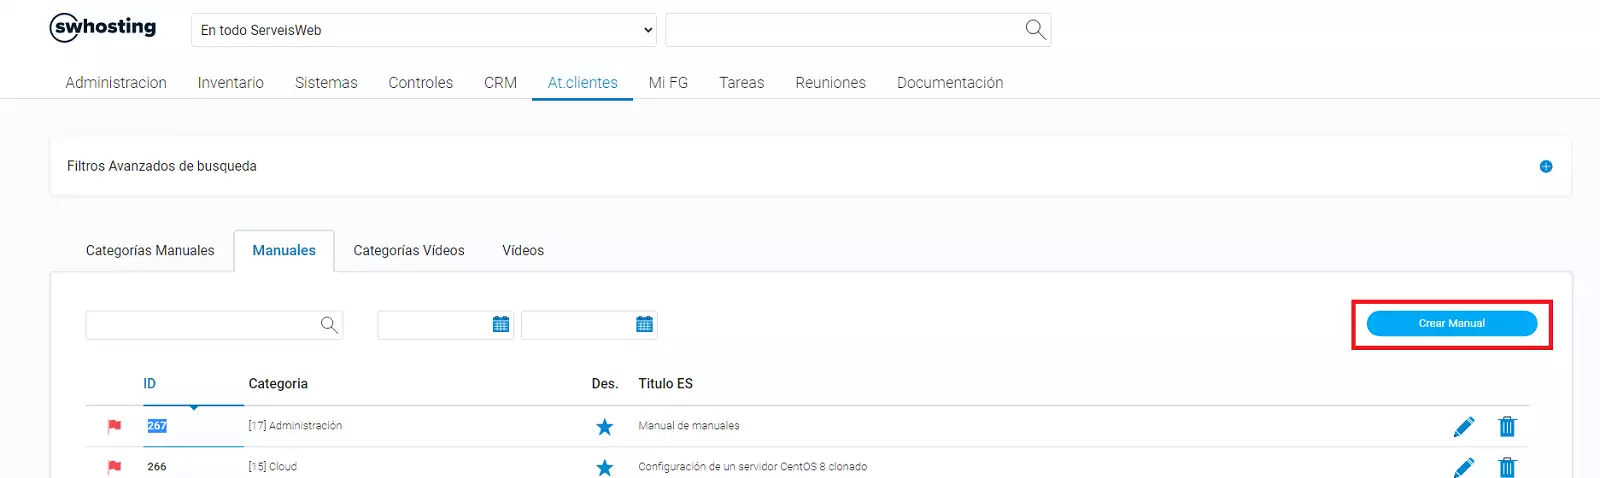
Go to AT.Clientes / Manual Management
-
Create manual:
-
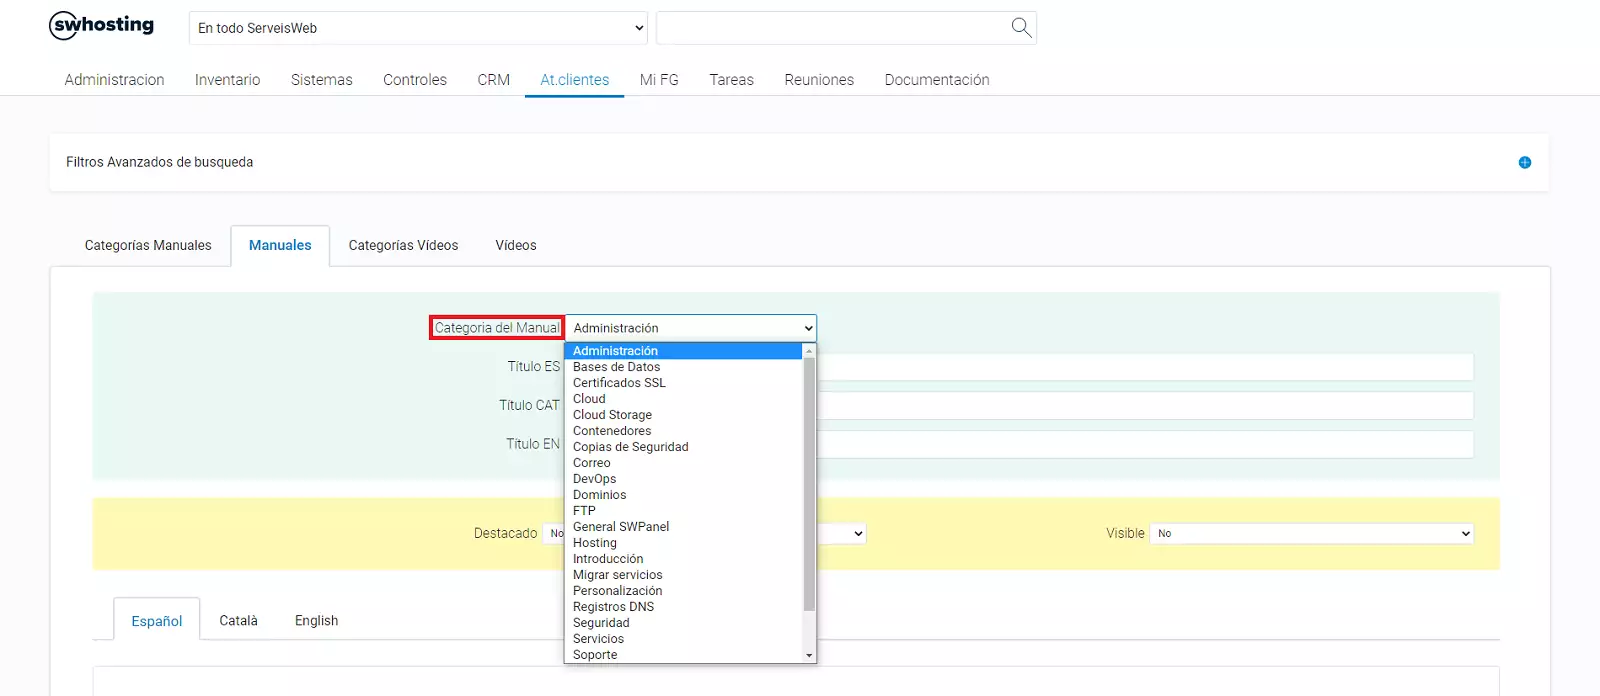
Select the corresponding category
-
At the time of creating the manual, the FTP folder must be created with the corresponding manual number (Example of directory for manual no. 239 -> Directory = 0239)
-
Edit manual:
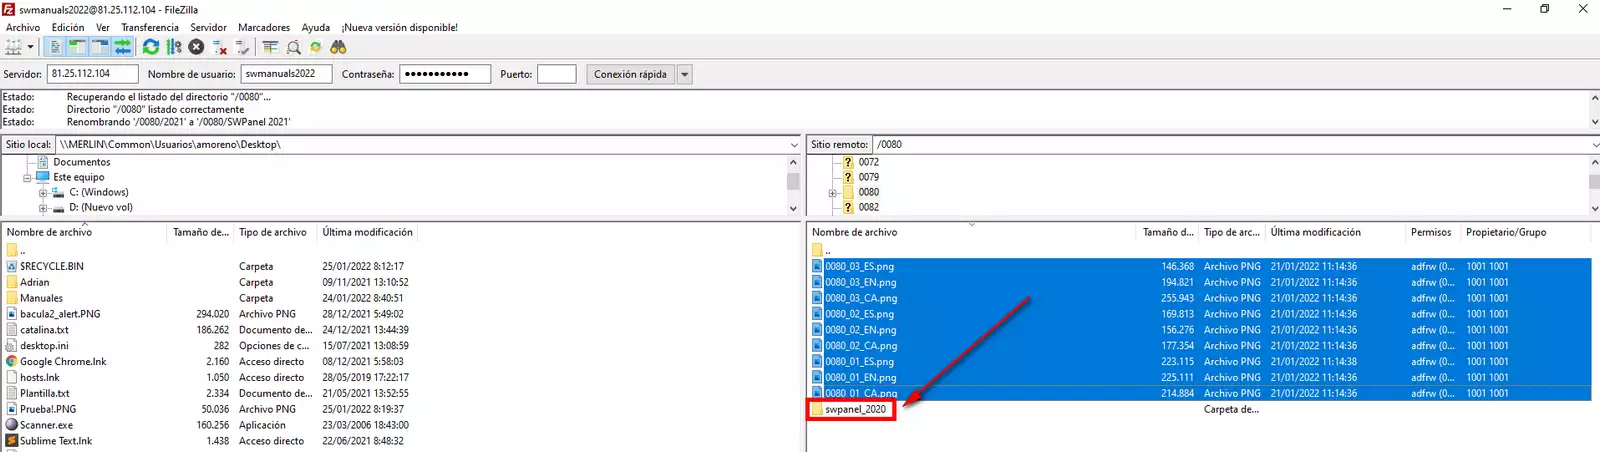
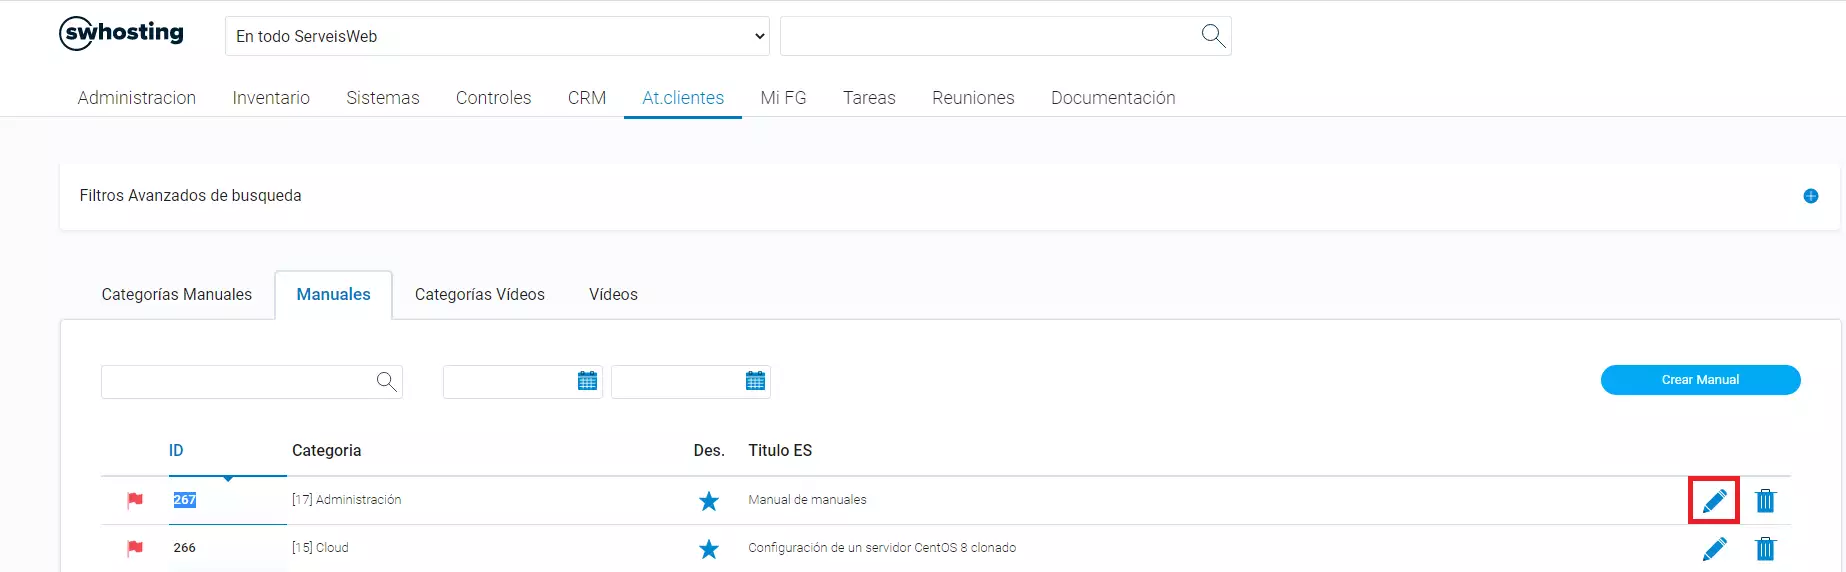 - To update the screenshots with SWPanel 2022, we must access the corresponding manual via FTP and create a folder called swpanel_2020 where the old images will be moved.
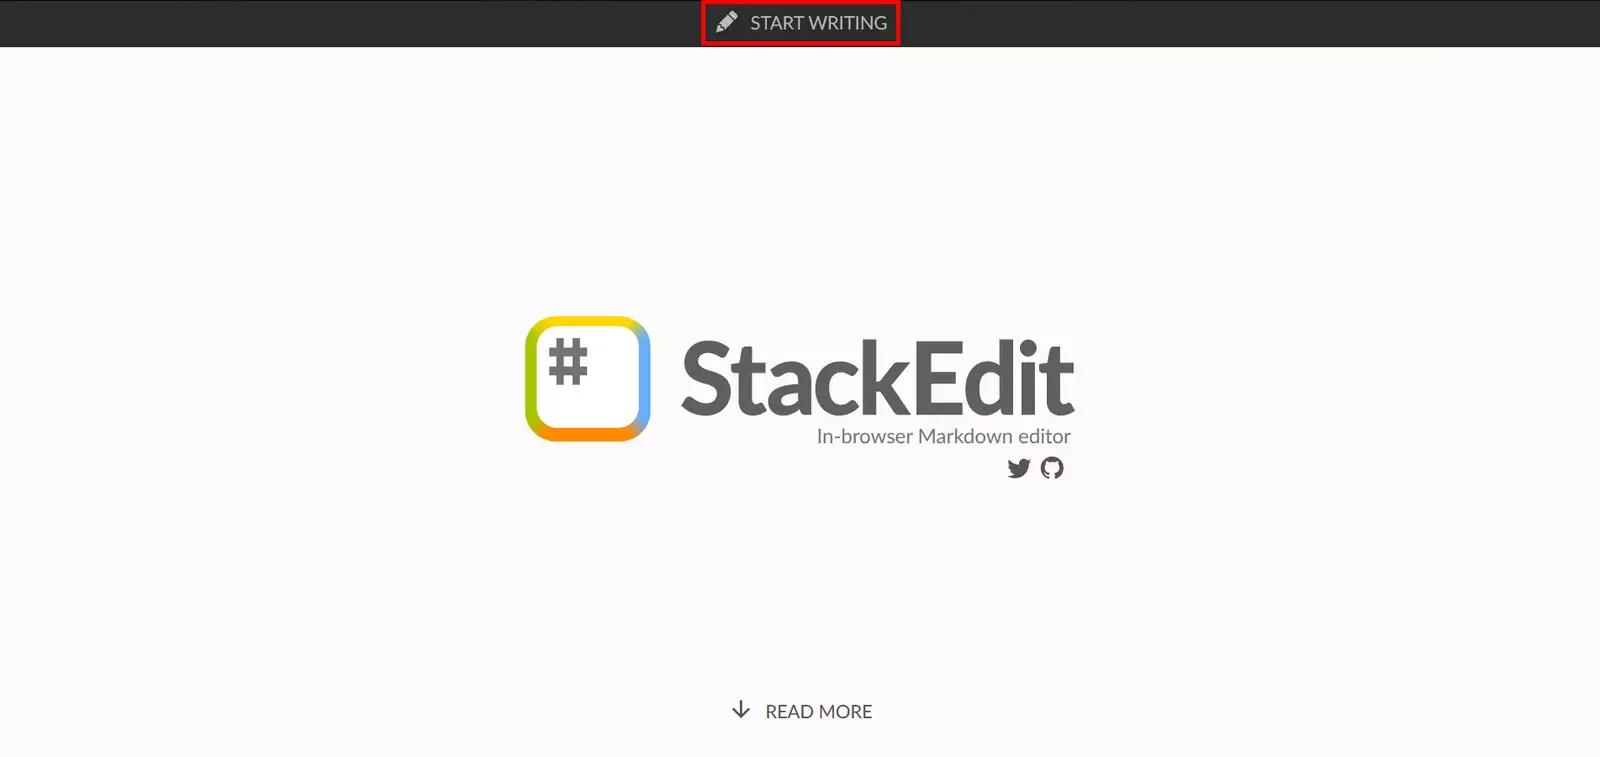
Once the manual has been created or we are going to edit a manual, we must access https://stackedit.io/app and click Start writing .
By default, stackedit.io already caches the information added to the manual in case you close the browser, but for added security, every time the browser needs to be closed, it should be exported as follows:
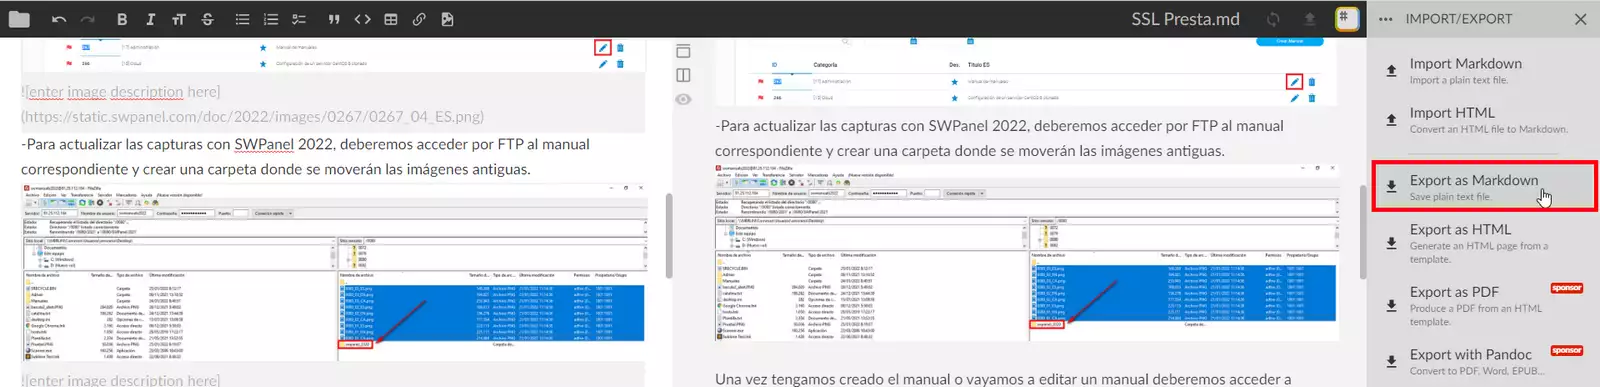
It will generate a file with a .md extension that can later be imported to recover the manual.
Once the manual is finished, everything added in stackedit must be copied and the information pasted into the corresponding manual in the FG manuals section.
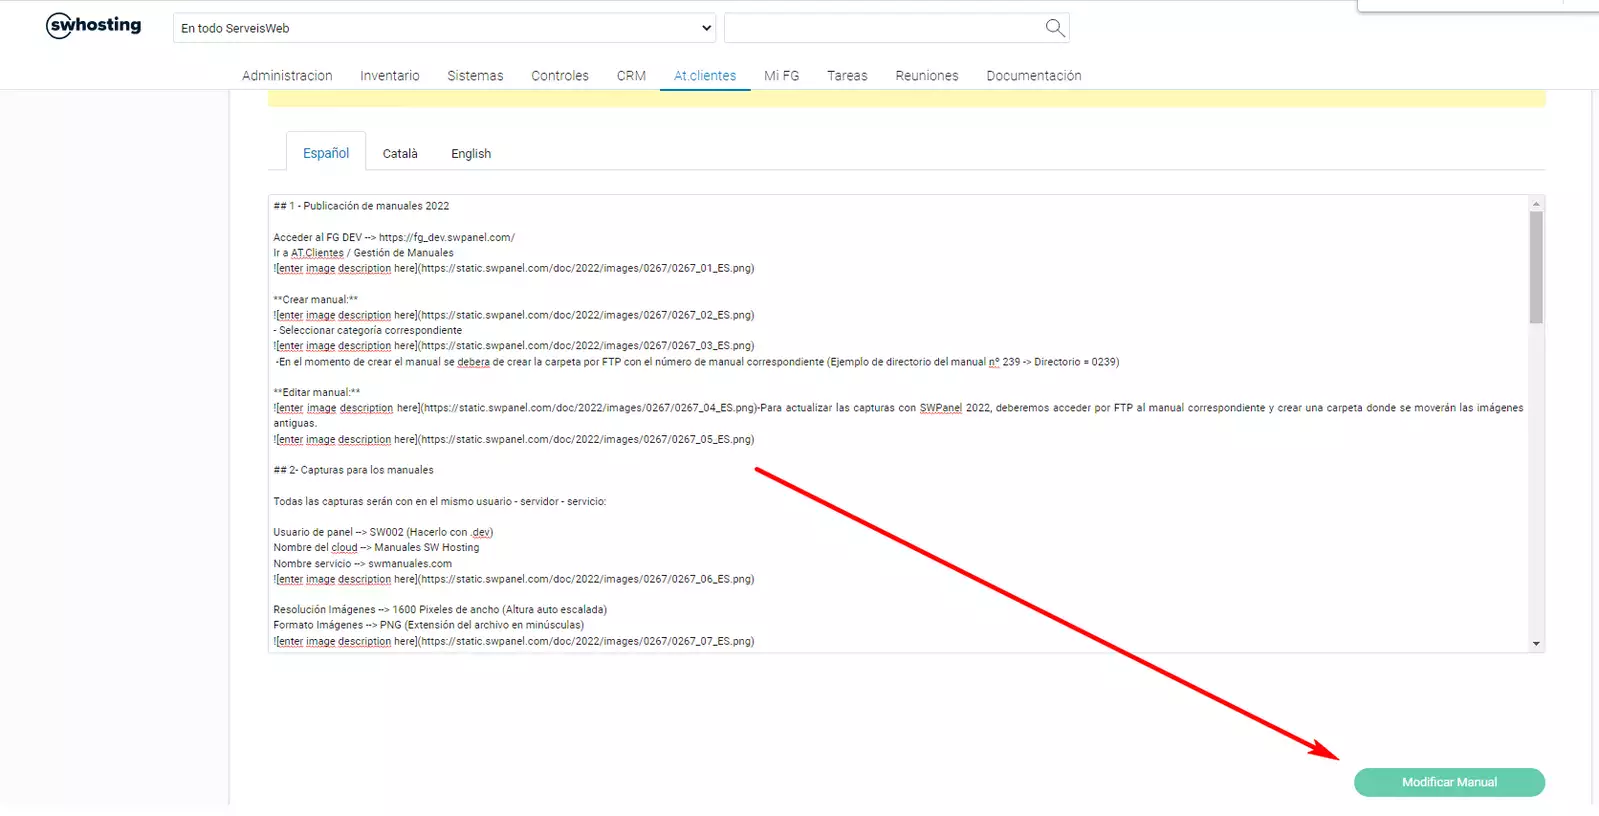
Finally, we will click the modify manual button.
2- Screenshots for the manuals
All screenshots will be taken using the same user - server - service:
Panel user --> SW002 (Use .dev)
Cloud name --> Manuales SW Hosting (ce2022012410001.dnssw.net)
Service name --> swmanuales.com
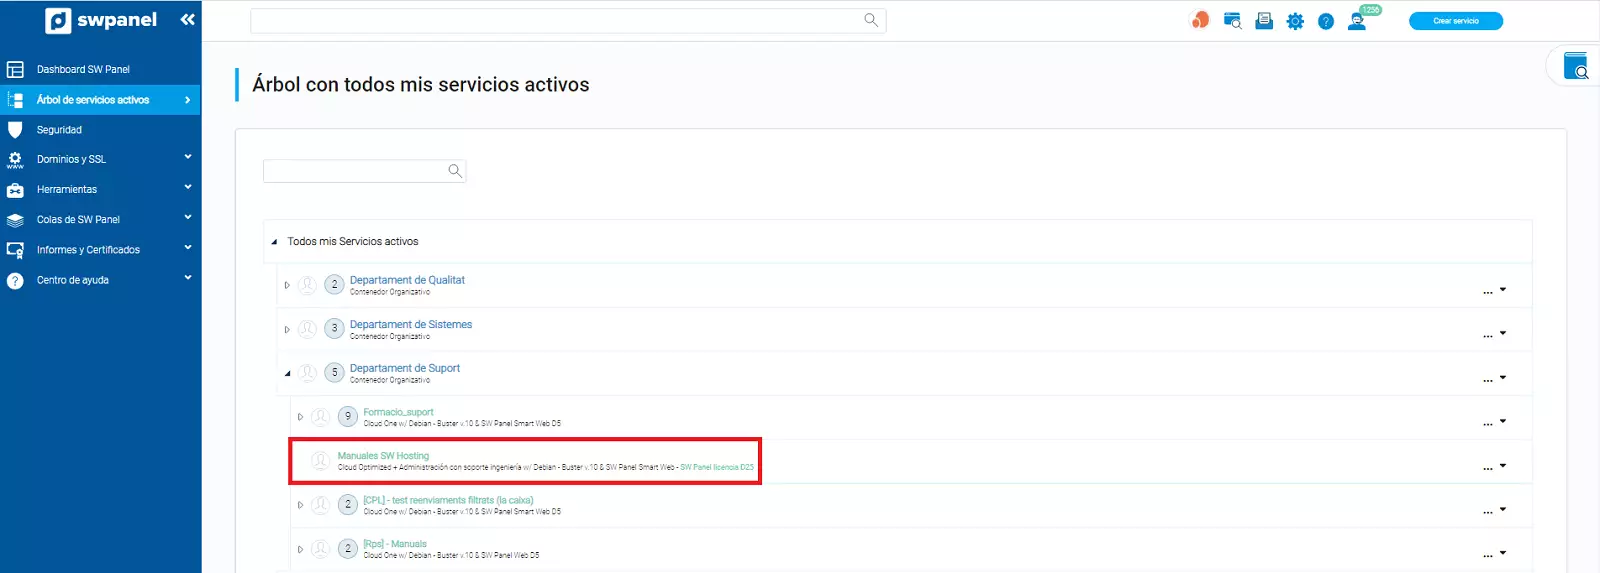
Image Resolution --> 1600 pixels wide (Auto-scaled height)
Image Format --> png (File extension in lowercase)
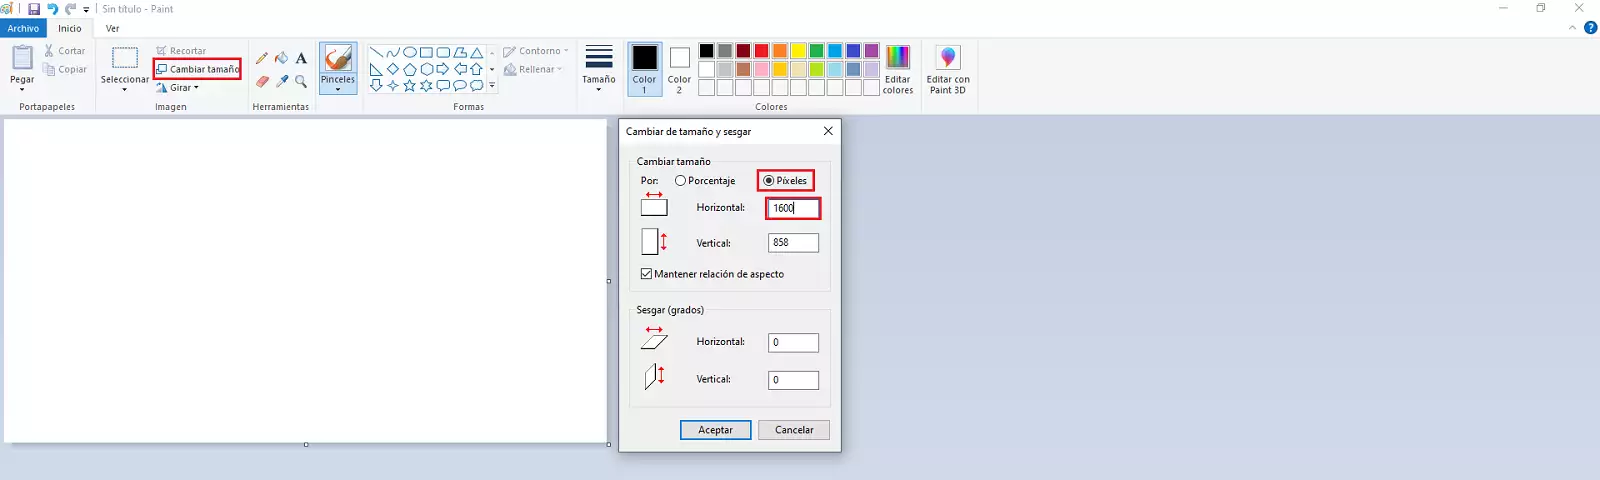
Things to keep in mind regarding screenshots:
-
Whenever a server or a service needs to be accessed, it must be done directly from the search bar using the full name to take the screenshot.
For example, if you want to access the service, we will add the full name swmanuales.com in the search bar and if it is on the server, Manuales SW Hosting.
-
Always use the same line thickness for the red tool/rectangle in paint

-
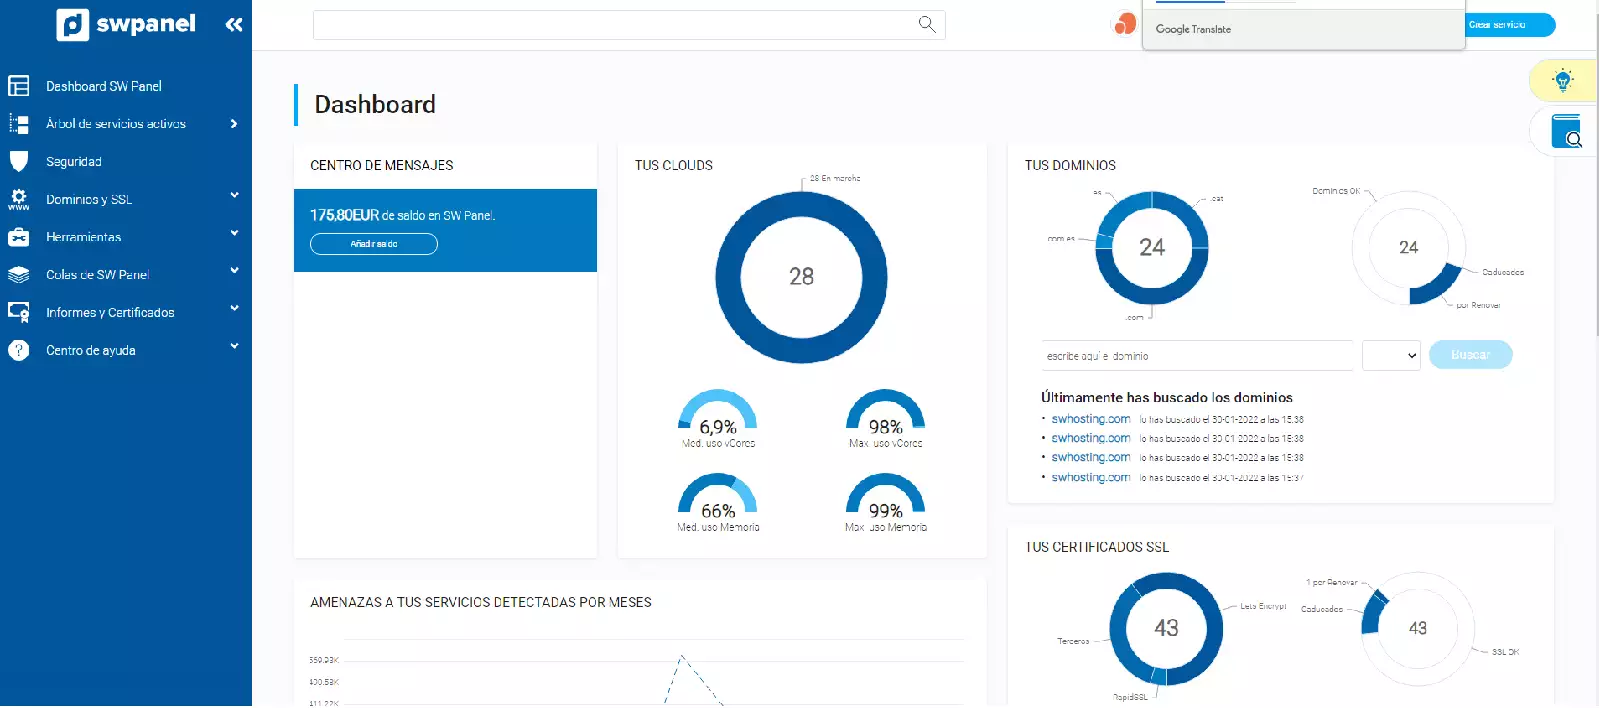
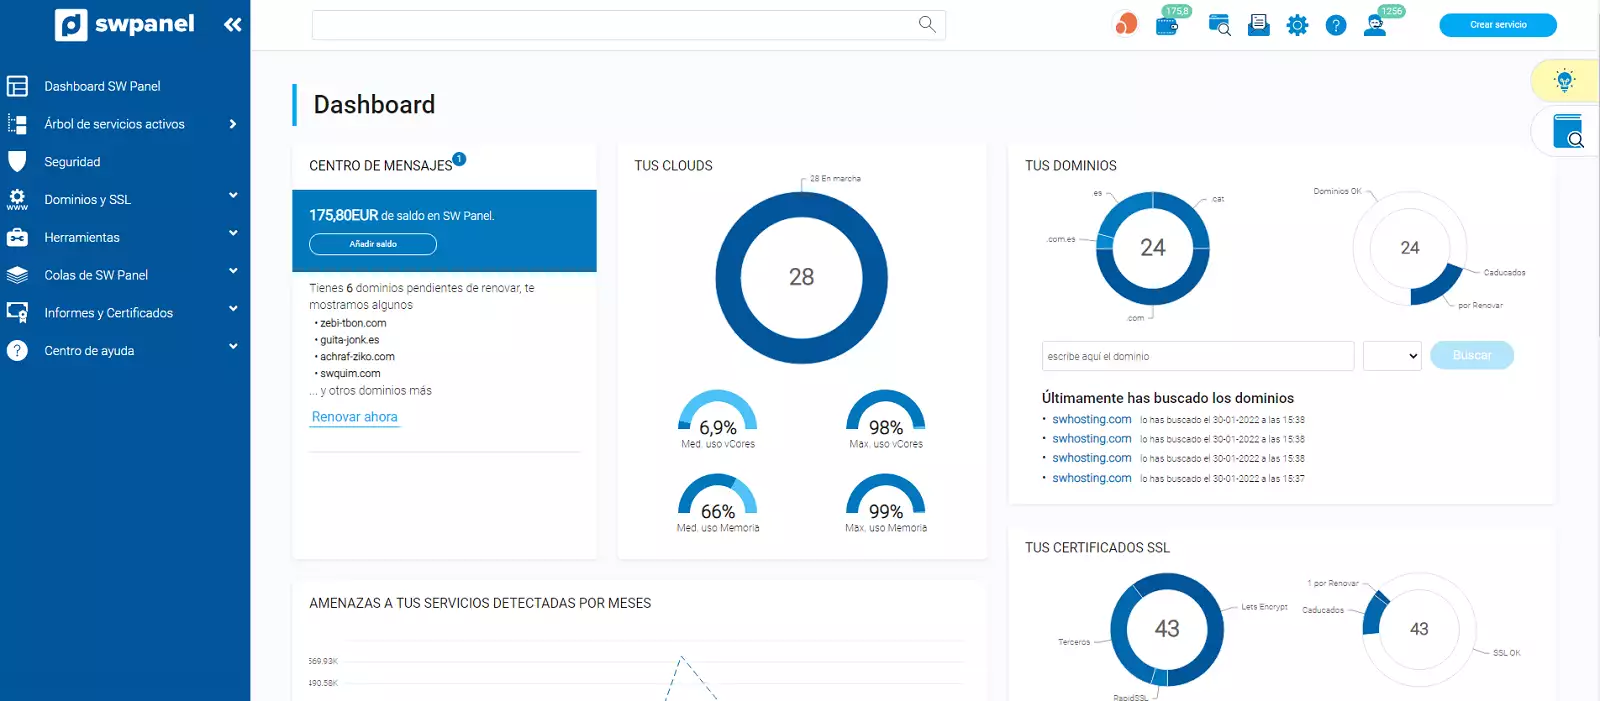
Screenshots that are caught in paint will remain selected by default, and if the size is changed with the screenshot selected, it will look bad. To solve this, once copied, the ESC key on the keyboard must be pressed, and once deselected, the size can be changed. Incorrect screenshot:
 Correct screenshot:
-
Screenshots must always be the full width of the screen and the height necessary to show the items we want to display. (It is not necessary to show the full height of the screen if we only want to show a specific part of the SWPanel. For example, if we want to show the service search bar of the Dashboard, it is not necessary to see the full height of the SWPanel:
-
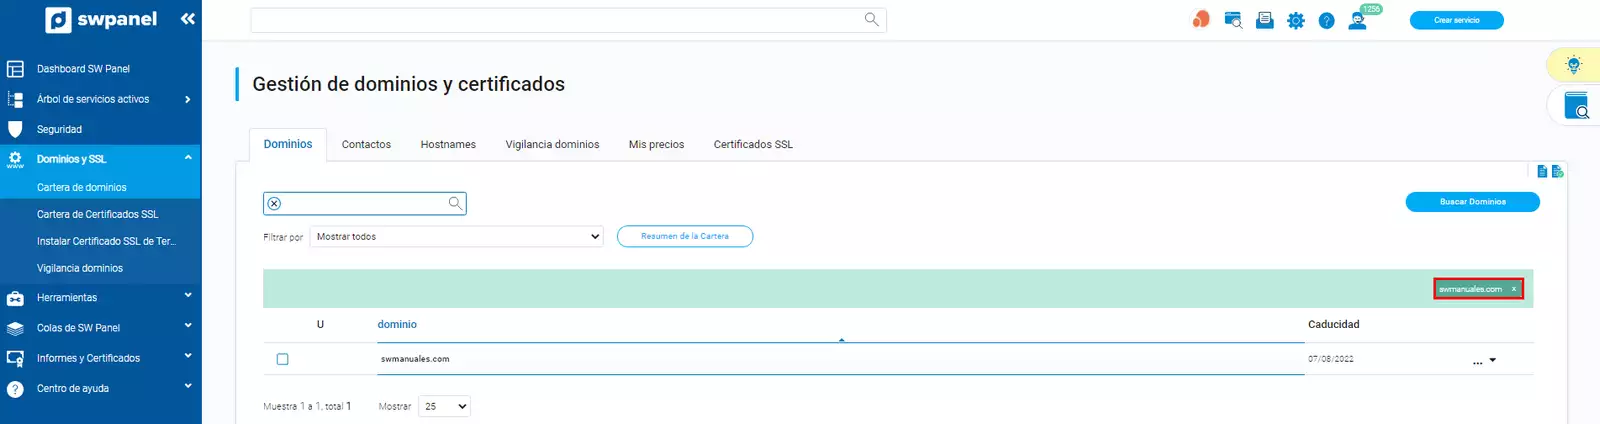
If we want to show a specific item, we will use the search bar so that only a single item appears on the screen. For example, if we want to show how to work with the options of a domain, the domain portfolio is filtered first so that only the domain swmanuales.com appears.
-
Screenshots where the contract appears cannot show company data (they can be left empty using paint)
💡 It is forbidden to use links to images from other manuals.
3 - Image Nomenclature:
It is important to follow this nomenclature and ensure that the screenshots are consecutive. For example:
Screenshot no. 1 of manual 11: 0011_01.webp

Screenshot no. 2 of manual 11: 0011_02.webp
.....
Spanish Manual:
0011_01.webp
-
0011 -- This is the folder referring to the manual with ID 11.
-
01 -- This is the first image.
-
ES -- This is the screenshot in Spanish
Catalan Manual:
0011_01.webp
-
0011 -- This is the folder referring to the Manual with ID 11.
-
01 -- This is the first image.
-
CA -- This is the screenshot in Catalan
English Manual:
0011_01.webp
-
0011 -- This is the folder referring to the Manual with ID 11.
-
01 -- This is the first image.
-
EN -- This is the screenshot in English
3 - FTP connection data for uploading images.
Server: 81.25.112.104
User: swmanuals2022
Password: iB2.d{F5(kh
Port: 21
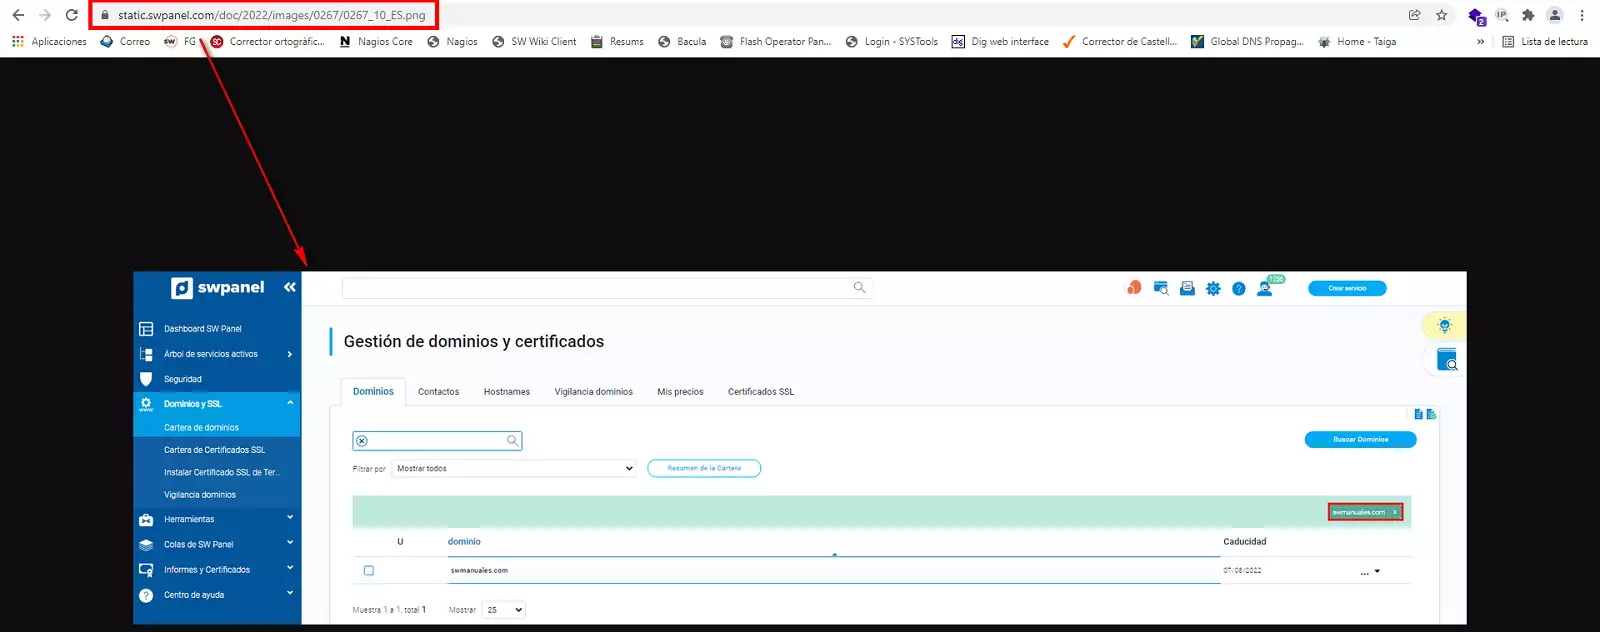
If you copy the URL of the image you have uploaded via FTP and access it through the browser, you can verify that the image has been uploaded correctly.
4 - Finalizing the manual
Once the manual is finished, before sending it to Jordi Forcadell, it must be reviewed in the three languages by accessing the SWPanel SW002 in the manuals section.


💡 To review the manual in another language, we must change the SWPanel language by accessing ? Manuel : My SWPanel Preferences
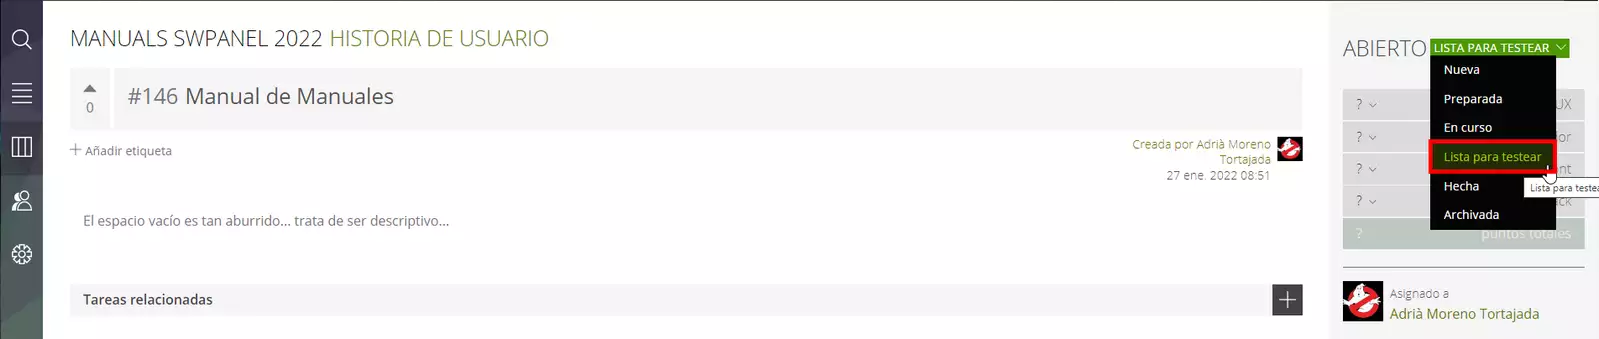
Once it is verified to be correct in the three languages, we will proceed to set the Taiga task to ready for test.
Finally, we will send an email to Jordi Forcadell with the following format in the subject:
Subject: Manual No. XXX - Manual name
Example: Manual No. 267 DEV - Manual of manuals