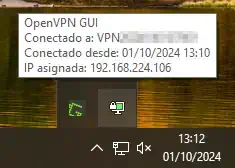
How to install and configure the OpenVPN Community Edition client on Windows
To connect via OpenVPN, you must first login to your SWPanel with your VPN user and the password you have set.
 Once you have logged in, you must go to the “Connection” tab.
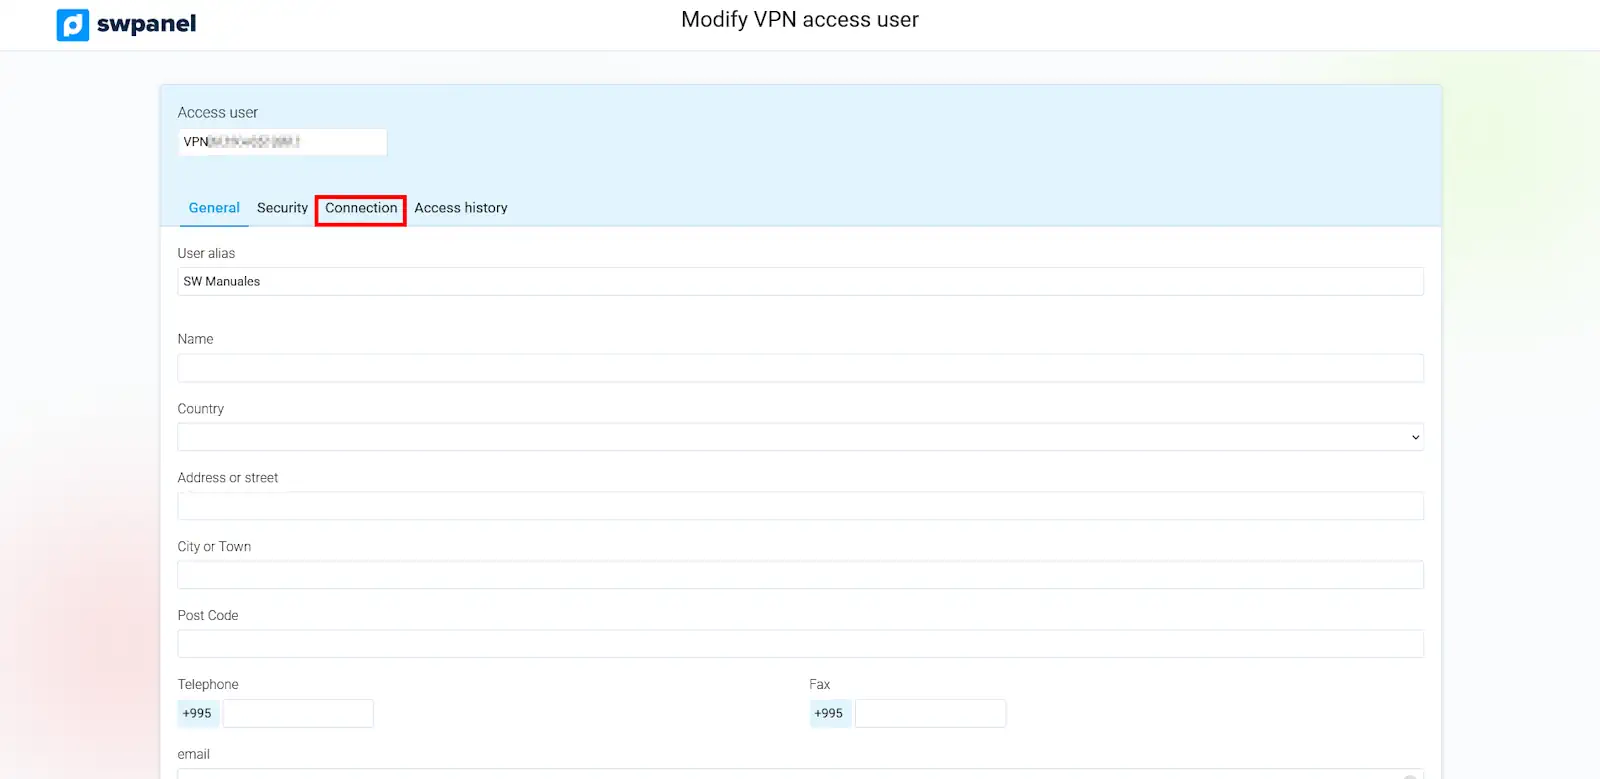 The connection process consists of the following steps:
- Download and install software to connect to your SSL VPN 2.
- Downloading the file with the connection data of your SSL VPN.
- Establish the connection to your SSL VPN
info Steps 1 and 2 should only be performed the first time.
Downloading and installing software to connect to your SSL VPN
For the first step, you would need to download the OpenVPN Client software. To do so, click on “Download OPENVPN Client”.
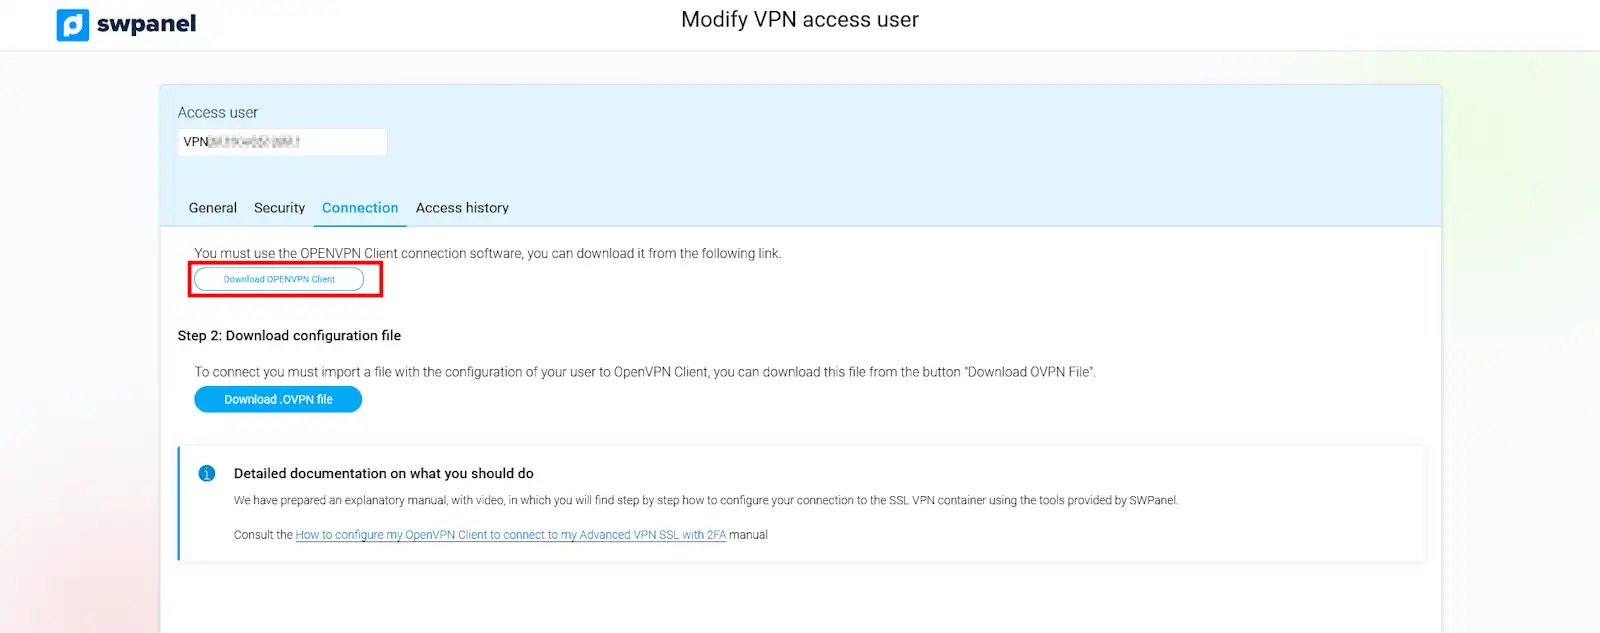 After downloading the program, install it.
Download file with your SSL VPN connection details
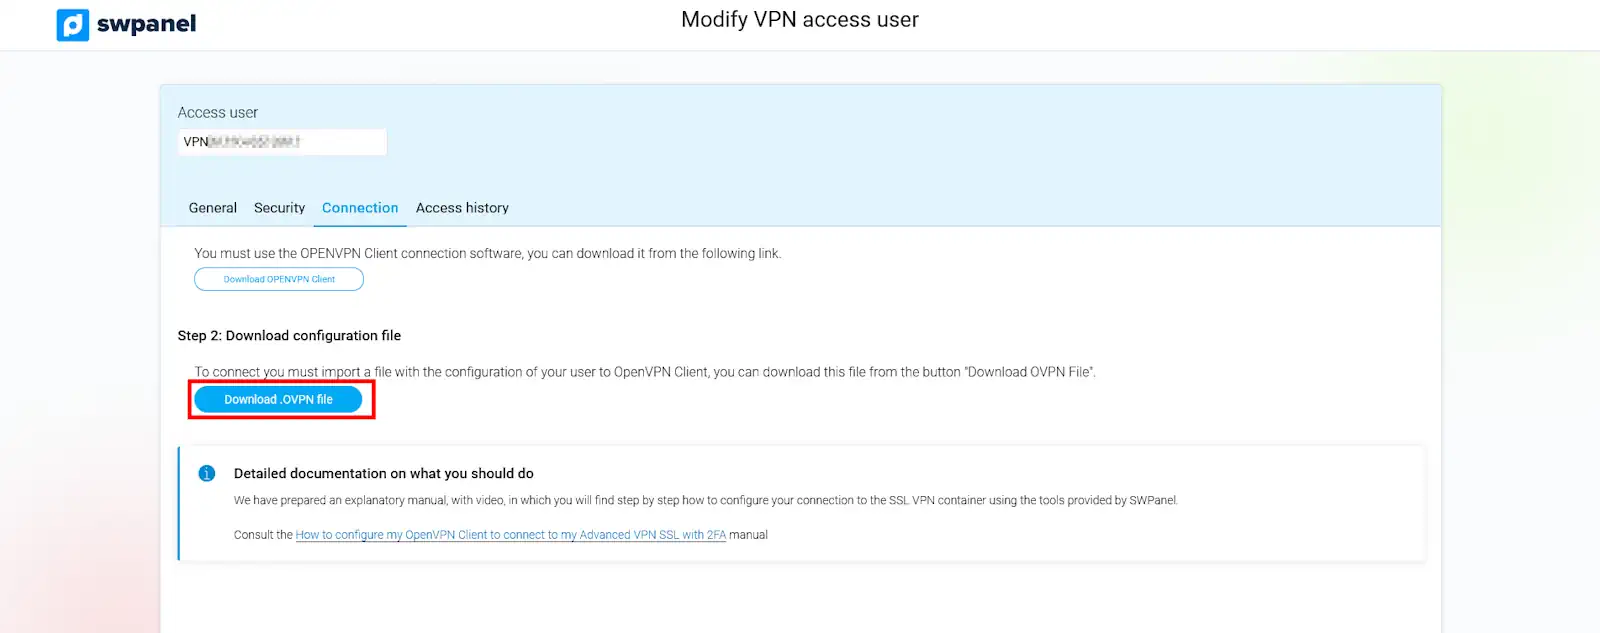
In SWPanel, click on “Download .OVPN file”.
Establish the connection to your SSL VPN
At the bottom right of your desktop in Windows, in the hidden icons, look for the OpenVPN GUI (icon of a PC screen with a lock).
 Right click on that icon, select Import followed by Import file.
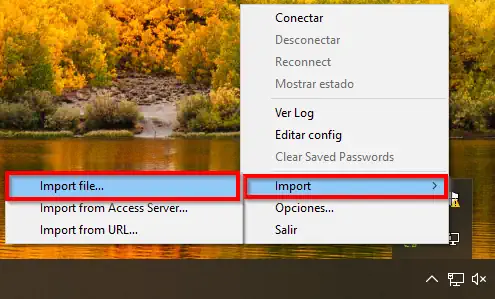
Select the .OVPN file downloaded in the previous step.
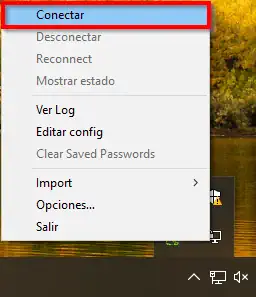
Once the file is imported, right click again on the OpenVPN GUI icon, and click Connect.
 Enter your username and password.
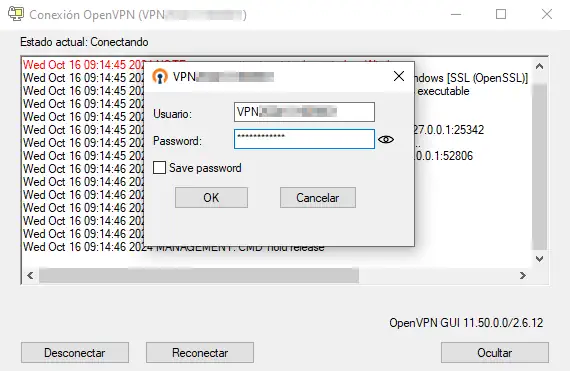
success We would already have established a connection to our VPN.