How to install and configure the OpenVPN client on Linux
OpenVPN client installation and configuration manual for Linux systems
1. Introduction and summary of the manual
This manual explains step by step how to install and configure the OpenVPN client on a Linux server using a configuration file provided by SWPanel. It is designed for users who need to establish a secure connection to a virtual private network (VPN) managed from the SWPanel panel.
What is OpenVPN?
OpenVPN is open-source software that allows you to create secure, encrypted VPN connections between devices and networks. Its main advantage is the ability to connect remotely to a private network while maintaining the confidentiality and integrity of the data transmitted.
2. Access SWPanel with our VPN user
To begin, we need to access the SWPanel management environment with a user who has permissions for VPN connections.
Steps:
- Go to the URL: https://go.swpanel.com
- Enter the VPN user credentials (username and password).

info_capture The screenshot is for illustrative purposes only. It was taken from version 2025.004.0005 dated 19/07/2025. It may differ from what is shown in the current version of SWPanel.
3. Download the .ovpn configuration file
Once inside the SWPanel environment, follow these steps:
- Access the ”Connection” tab (labelled as step 1 in the image).
- Download the configuration file with the
.ovpnextension, which contains the parameters needed to establish the VPN connection (labelled as step 2).

info_capture The screenshot is for illustrative purposes only. It was taken from version 2025.004.0005 dated 19/07/2025. It may differ from what is shown in the current version of SWPanel.
Important note:
This .ovpn file must be transferred to the Linux device where the VPN connection will be run. If you do not have direct access to the device, we recommend using software such as WinSCP to send the file. It is essential to know the exact path where the file is stored, as this will be needed during configuration.
4. Install the OpenVPN client on the server
Once the .ovpn file has been transferred, access the Linux server where you want to establish the VPN connection. Then follow these steps:
4.1 System update
Run the following command to update the system:
sudo apt update -y && sudo apt upgrade -y
4.2 Installing the OpenVPN client
To install the OpenVPN client, run the following command:
apt install openvpn -y

4.3 Verify installation
To confirm that OpenVPN has been installed correctly, run:
openvpn --version

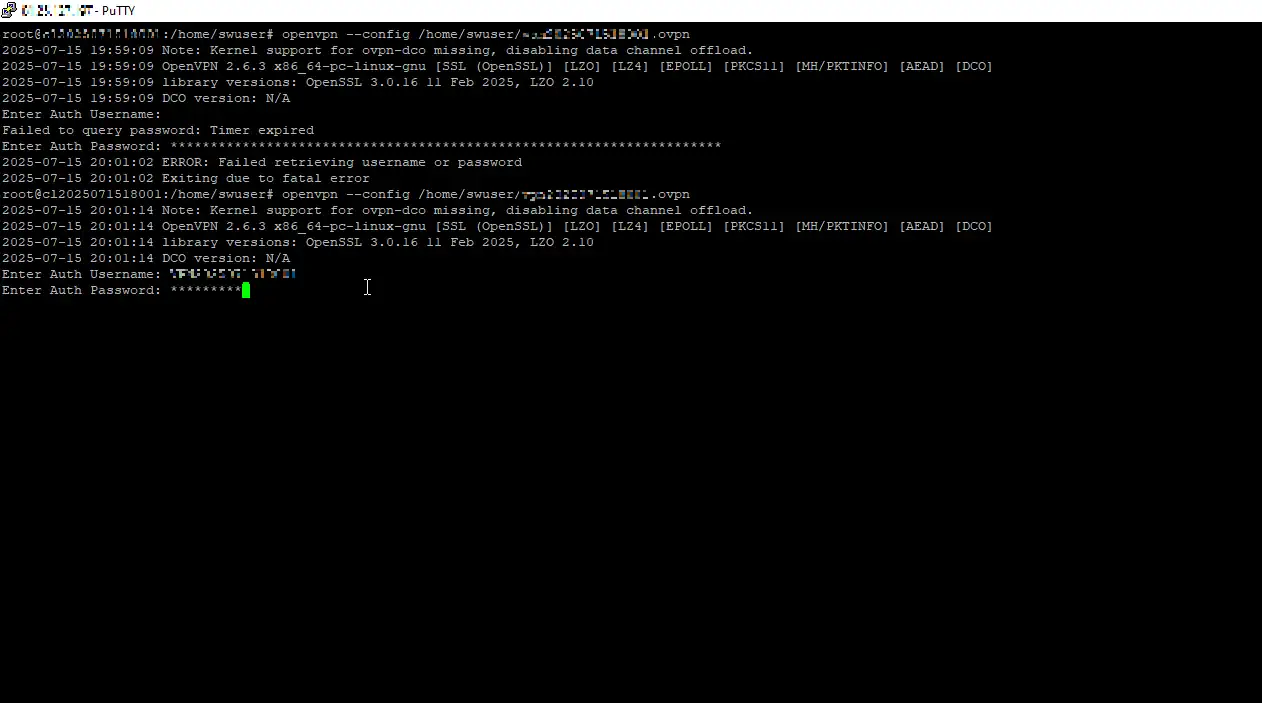
4.4 Connect to the VPN
Make sure the .ovpn file is in an accessible location. To establish the connection, run:
openvpn --config /ruta/a/tu/archivo.ovpn
Replace /ruta/a/tu/archivo.ovpn with the actual location of the .ovpn file.
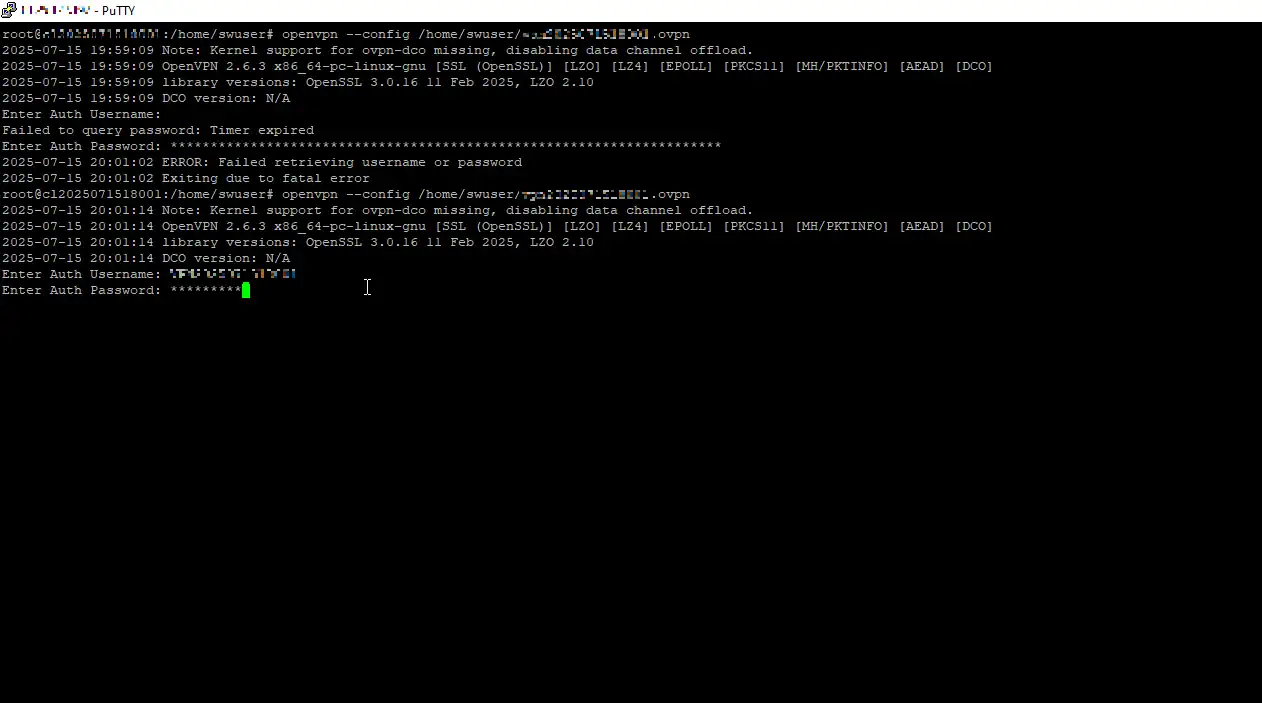
4.5 Credential entry
During the process, you will be asked to enter your VPN credentials. These are the same credentials used to access SWPanel.
4.6 Check the connection status
To verify that the VPN connection has been established correctly, run:
ifconfig
Look for an interface called tun0 or similar, which will indicate that the connection is active.
