How to configure my OpenVPN Client to connect to my Advanced VPN SSL with 2FA
Connecting to an Advanced VPN SSL via OpenVPN
1. Introduction and summary of the manual
This manual aims to provide step-by-step guidance to SWPanel users on how to establish a secure connection using OpenVPN with their Advanced VPN SSL.
What is an SSL VPN?
An SSL (Secure Sockets Layer) VPN enables a secure, encrypted connection between your local computer and cloud or remote infrastructures via the Internet. This type of VPN uses digital certificates and cryptographic keys to secure the connection.
In this case, access is managed through SWPanel, the cloud service management environment offered by SW Hosting, which allows you to manage and download the necessary elements to establish the connection.
What is OpenVPN?
OpenVPN is a free software client used to establish VPN connections. It is compatible with multiple operating systems (Windows, macOS, Linux, etc.) and allows you to import configurations using .ovpn files, facilitating quick and secure connections.
What is 2FA?
Two-factor authentication (2FA or MFA) adds an extra layer of security to your account by requiring the user to provide two different forms of identification: something they know (password) and something they have (mobile device with authentication app).
2. Prerequisites
Before starting the connection process, make sure you have the following:
-
VPN user created in SWPanel.
-
Password assigned to the VPN user.
-
An active Advanced VPN SSL. If you do not have one, you can consult the following manual to create it:
-
Device with 2FA app installed (Google Authenticator, FreeOTP, etc.).
-
Stable internet connection.
3. Accessing SWPanel with a VPN user
To begin, access SWPanel using your VPN user credentials (username and password specific to this connection). This user must be associated with an active Advanced VPN SSL.

info_capture The screenshot is for illustrative purposes only. It was taken from version 2025.004.0005 dated 08/07/2025. It may differ from what is shown in the current version of SWPanel.
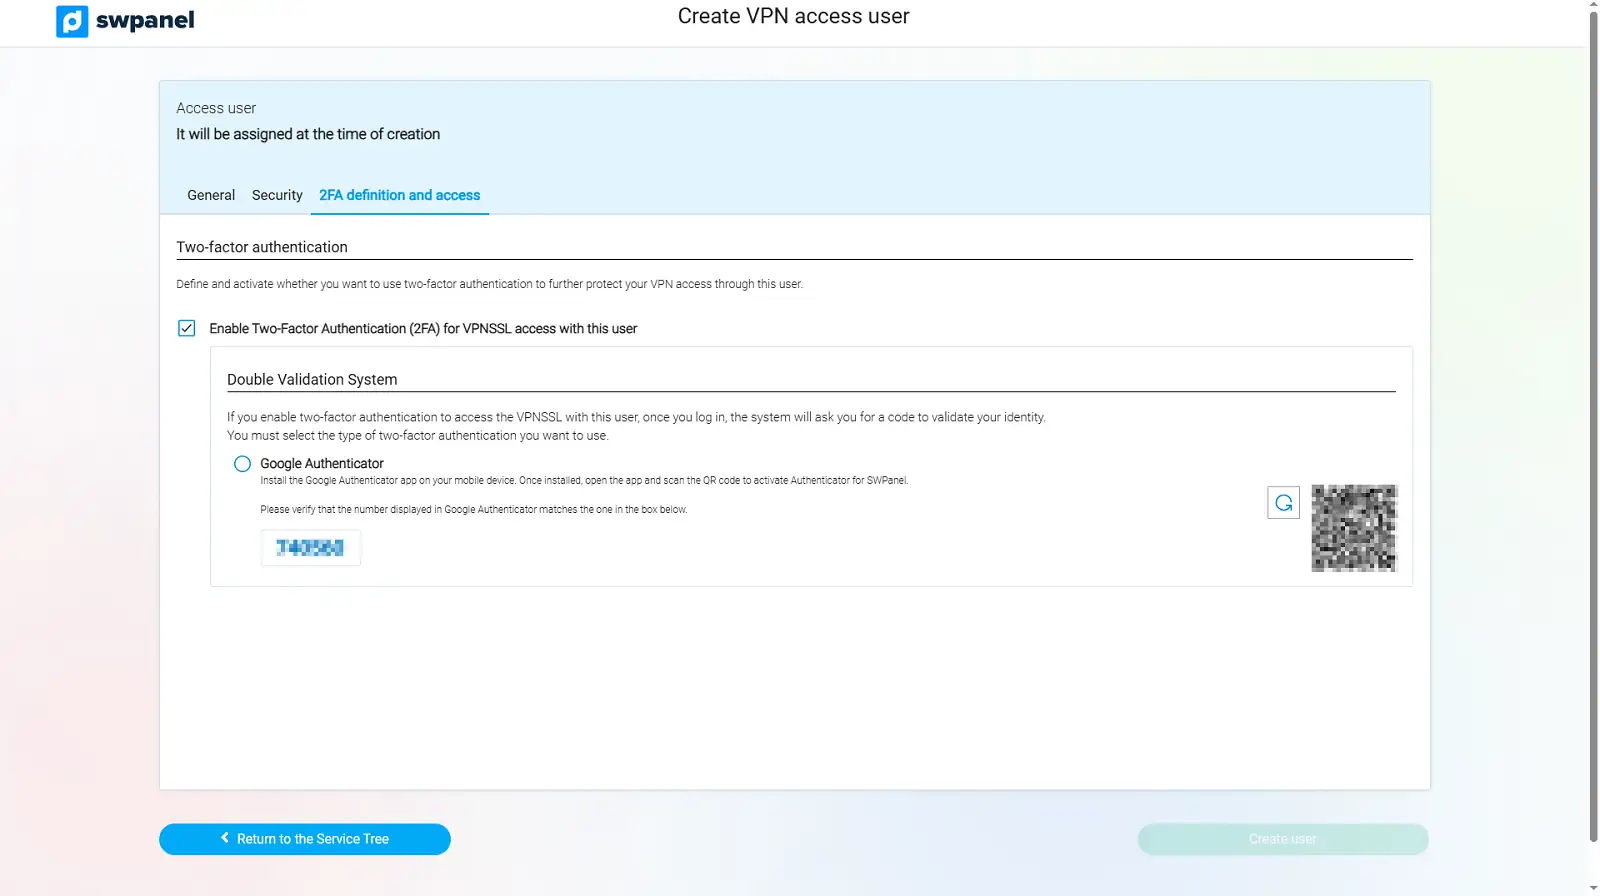
4. Set up your 2FA app with the QR code
Once you access SWPanel for the first time with your VPN username, the 2FA Definition and Access tab will be displayed. From there, you can scan the QR code that appears in the Security section.
To do this, open your authentication app (such as Google Authenticator, FreeOTP, etc.) and scan the QR code.
danger The QR code will only be displayed when you first access the portal. It cannot be regenerated. It is essential that you configure it correctly at that time.
info_capture The screenshot is for illustrative purposes only. It was taken from version 2025.004.0005 dated 08/07/2025. It may differ from what is shown in the current version of SWPanel.
Code validation
If the app and the portal display the same 6-digit code, the configuration is correct. If not, use the refresh icon next to the QR code to generate a new code and try again.
info If you lose your mobile device or believe it has been compromised, we recommend deleting the SSL VPN user, creating a new one and repeating the configuration process.
5. Downloading and installing OpenVPN Community Client
To connect to the VPN, you must install the OpenVPN Community client on your operating system. Go to the official OpenVPN website and download the appropriate version.

info_capture The screenshot is for illustrative purposes only. It was taken from version 2025.004.0005 dated 08/07/2025. It may differ from what is shown in the current version of SWPanel.
Installation manuals
If you need help installing the client, please refer to the following manuals according to your operating system:
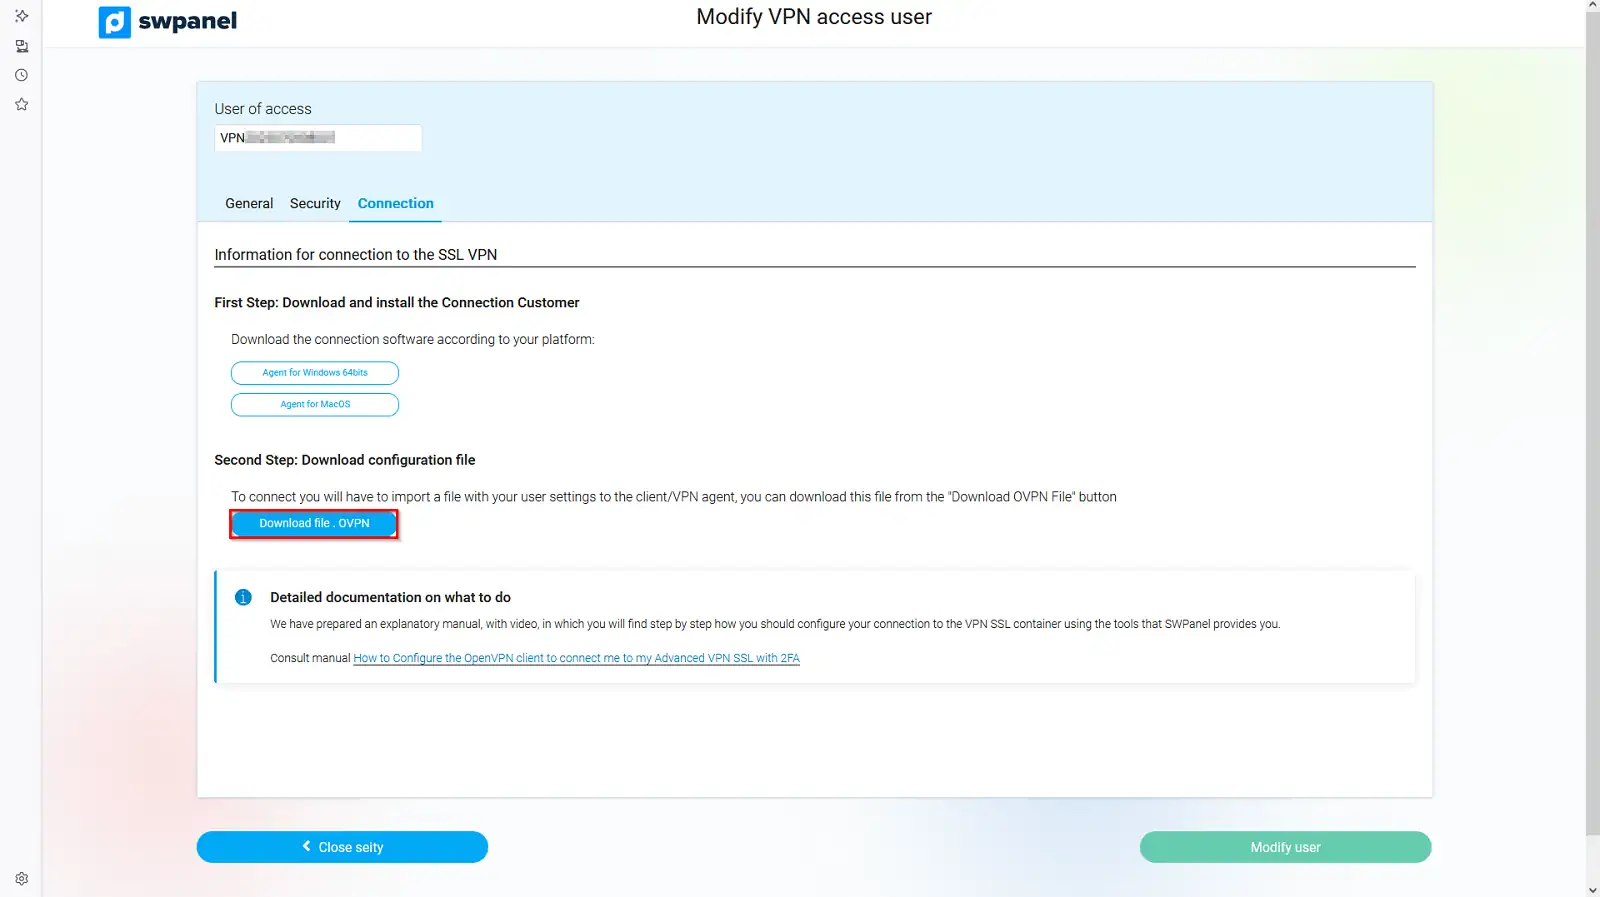
6. Download the .ovpn configuration file
Once you have configured 2FA and downloaded and installed OpenVPN, you must download the specific configuration file for your SSL VPN from SWPanel.
Click on the Download .OVPN file option.
info_capture The screenshot is for illustrative purposes only. It was taken from version 2025.004.0005 dated 08/07/2025. It may differ from what is shown in the current version of SWPanel.
This file contains all the parameters needed to establish a connection with your VPN: server, ports, certificates, etc.
7. Establish the VPN connection
Open the OpenVPN client and import the previously downloaded .ovpn file. Once imported, you can start the connection by entering your credentials (VPN username and password).
If you need a step-by-step guide to configure the connection in the OpenVPN client, you can follow this manual: